Once you have customized the general settings for the Presenter, such as the default content for all of your presentations, using the Case Presentation outline setup, you can further customize presentations to accommodate individual patient needs.
Note: You must select a case before you can add Case Presentation items. From the Case menu in the Case Presentation tab, select a case from the list.
To add a case presentation Item
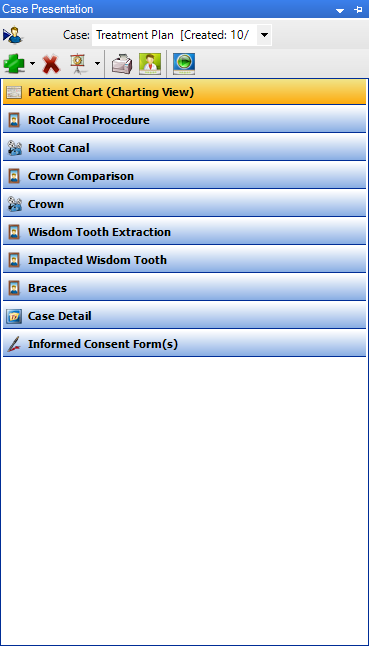
1. In the Dentrix Presenter, click the Case Presentation tab.
The Case Presentation panel appears.
Tip: To keep the panel expanded, click the push pin button.
2. In the toolbar, click Add Case Presentation Item.
3. From the menu, click the item that you want to add to the patient’s case presentation.
The item you selected appears at the bottom of the list.
4. Drag the item to the desired position in the list.
5. Click the Case Presentation tab to see the items in the case presentation outline, and then drag the item you want to move to the desired position in the list.